Cute, Simple Beaded Wire Loop Earrings

A couple things before we begin:
1. Ensure that all lids on all containers are sufficiently closed because (if you're like me) you will be interrupted by cats and dump all of your tiny crimp beads on a carpeted floor. Twice.
2. I am just going to show you how I made mine. You can really make this with any kind of beading wire, beads, components, etc.
3. Have fun! Don't be afraid to tweak it to fit your style.
Okay, here we go.
Step one: As with any project, you'll need to gather your supplies. (The picture only shows enough for one earring because I already had the first earring made.)
- About 12" of beading wire. This will provide plenty of excess for any errors or if you choose to make your earrings a bit larger. We'll trim it in the end.
- Two crimp beads. You can use any size really. Mine are a bit bigger than I would have liked just because it is what I already had on hand.
- Two ear wires. Naturally. How else are you going to proudly display these on your body?
- Your choice of beads. I used three freshwater pearls, four small silver beads and two larger silver beads. As I said, feel free to substitute and beads that you have in your stash.

Step two: We'll begin by threading the beads that will be in the bottom loop of the earring.

Step three: Here's where the fun begins. Bend your wire into a loop shape so that the beads you've just strung are situated at the bottom. You can make it any size that you like.

Step four: String your crimp bead onto the long tail of your wire and place it at the top of the loop so that both pieces of wire are inside the crimp.

Step five: Take the LONG tail of your wire and form a much smaller loop. Feed the tip DOWN into the crimp. Pull as tight as desired. This is the loop that will hang on your earwire.

Step six: Crimp. :) Trim the SHORT tail of your wire at the crimp so that it doesn't stick out.

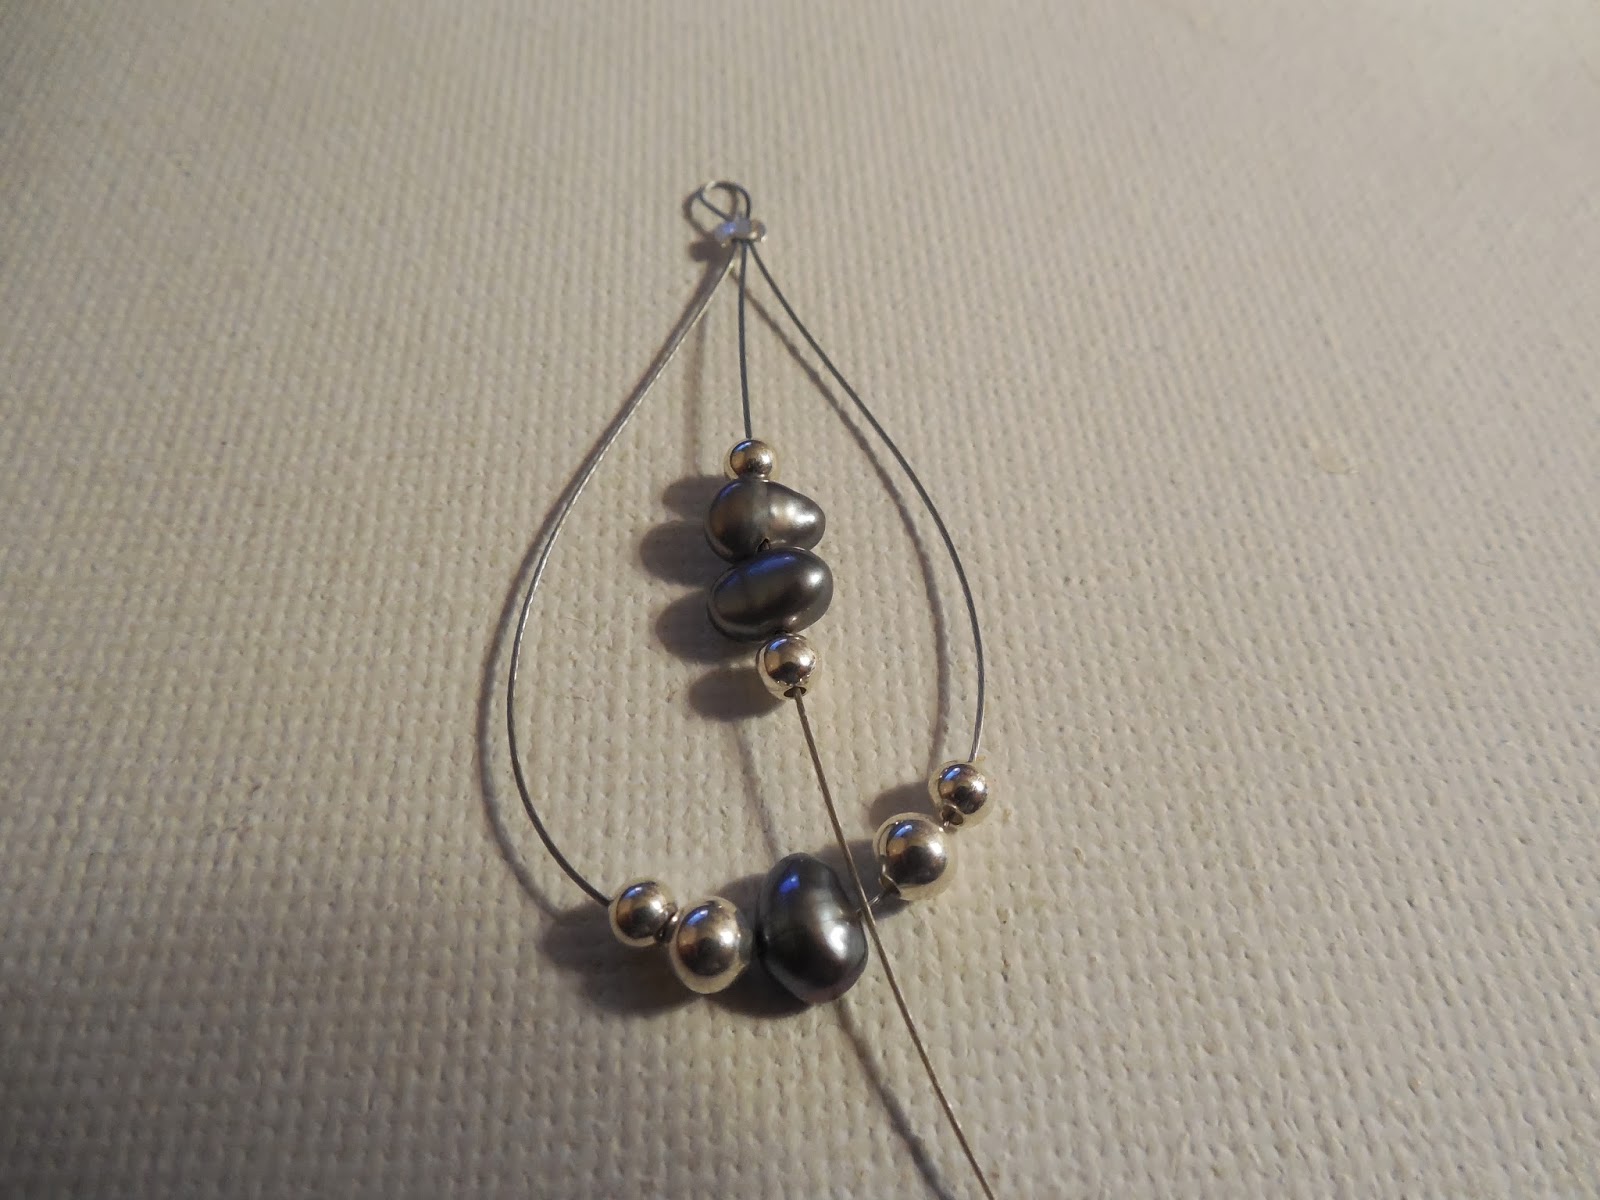
Step seven: At this point you should have a small loop to connect to your earwire, a larger loop strung with beads and the long tail of your wire hanging down the middle. Use this long tail to string the rest of your beads. You can make it as long or as short as you like.
Step eight: Place a crimp bead onto the end of your long tail (below the beads) and crimp to hold the beads in place. Trim your excess wire.

Step nine: Open the loop of your earwire and attach.

Step ten: Feel free to work the wire a little bit so that it hangs just how you want. I bent mine outward slightly at the top crimp so that my loop would be a bit wider.
Now just wear out and soak up the compliments!
No comments:
Post a Comment